Securing a Vue.js app and API with IdentityServer - Part 8
This is part 8 of a series showing you how to secure a Vue.js app with IdentityServer and call an ASP.NET Core Web API.
- Part 1 - Overview and Solution Structure
- Part 2 - Creating and Configuring your IdentityServer
- Part 3 - Adding Google Authentication to IdentityServer
- Part 4 - Creating and securing an ASP.NET Core Web API
- Part 5 - Creating the Vue.js client
- Part 6 - Calling an HTTP API from Vue.js
- Part 7 - Securing a router view in Vue.js
- Part 8 - Calling a secured API from Vue.js (this post)
- Part 9 - Refreshing identity tokens with Vue.js
Note: You can find the source code for this post series on GitHub.
Calling a secured API from Vue.js
Hopefully you’ve been following along with the previous posts. You should now have a working Vue.js app, be prompted to log in via IdentityServer when browsing to the /about page, and can show data returned from an unsecured API on that page.
Let’s extend the /about page to show data from our secured /api/services API.
Adjust the about.vue <template> as follows:
    <button @click="callApi">Call API</button>
    <button @click="callSecureApi">Call Secure API</button>
    <div v-for="(service,index) in services" :key="index">
      <p>
        <img src="service.iconUri" />
        <a href="service.uri"></a>
      </p>
    </div>
  </div>
Add a services property to the component’s data in the <script> section
  data() {
    return {
      values: ["no data yet"],
      services: []
    }
  },
And then add a new method for calling the API and populating data with the result
    async callSecureApi() {
      try {
        const response = await axios.get("https://localhost:5000/api/services");
        this.services = response.data;
      } catch (err) {
        console.log('secure api call failed');
      }
    }
Because this is a secured API, we need to provide an identity token in the request headers when making the call. If we had to write code to do this every time we made a API call it would be a painful experience, and no one wants that!
This is where Axios becomes very handy! Axios supports the concept of interceptors. Methods that run before or after network calls. We’ll add an interceptor before each network call, so that any time we have a valid security token we’ll automatically attach it to the request headers.
Head over to main.js one more time and import the axios module
import axios from 'axios'
Now add a request interceptor for Axios to the end of the file.
axios.interceptors.request.use((config) => {
  const user = v.$root.user;
  if (user) {
    const authToken = user.access_token;
    if (authToken) {
      config.headers.Authorization = `Bearer ${authToken}`;
    }
  }
  return config;
},
(err) => {
  //What do you want to do when a call fails?
});
You’ll see that we’re using a variable 'v' that we haven’t defined yet.
This will be the root Vue instance, which we need if we want to access the UserManager information. Adjust the Vue declaration as follows
let v = new Vue({
  router,
//…
Now let’s cross our fingers, take a deep breath, and give it a try!
Browse to the site (https://localhost:5000), navigate to the /about page, sign in (if prompted), and then click the button to call the secure API.
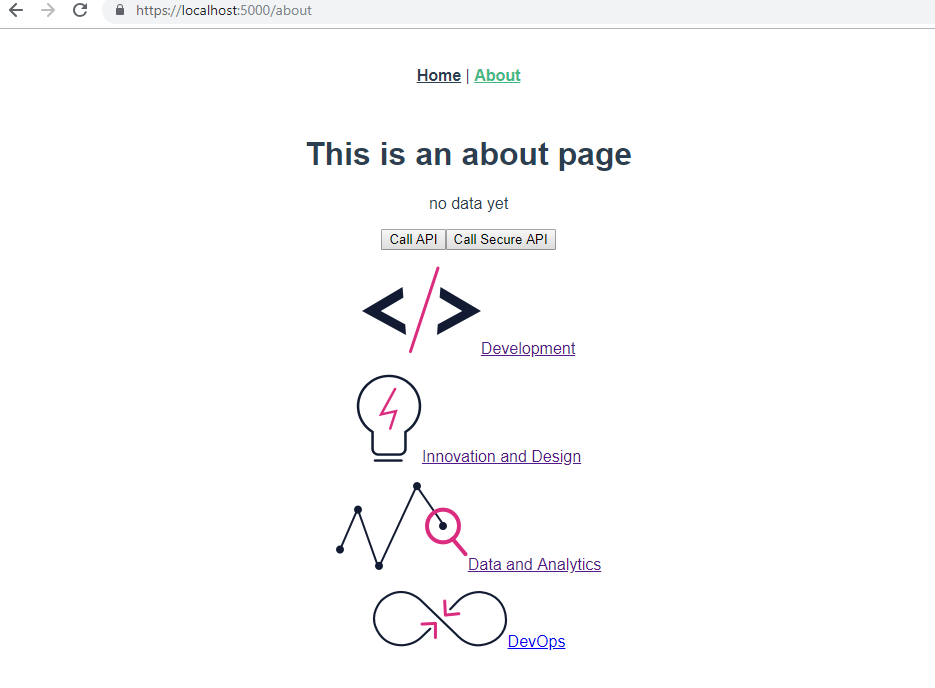
Hopefully, you haven’t missed anything along the way and it all works for you. Raise your fists in the air in victory and give yourself a pay raise!
A few things to note: Because we haven’t implemented any logout functionality if you ever want to reset and sign in from scratch, you’ll need to browse to IdentityServer and click the logout button (it’s under your user name),and you’ll have to clear your browser local storage to remove any tokens stored there. Alternatively, just start an incognito/inPrivate browser session and use that.
If you want to implement the sign out process yourself, you’ll need to call the singoutRedirect() method from oidc-client, but we won’t be doing that in this series.
We’re pretty much done, but there’s one last thing we should look at. How do we refresh our identity tokens so we’re not signed out so regularly?