Securing a Vue.js app and API with IdentityServer - Part 7
This is part 7 of a series showing you how to secure a Vue.js app with IdentityServer and call an ASP.NET Core Web API.
- Part 1 - Overview and Solution Structure
- Part 2 - Creating and Configuring your IdentityServer
- Part 3 - Adding Google Authentication to IdentityServer
- Part 4 - Creating and securing an ASP.NET Core Web API
- Part 5 - Creating the Vue.js client
- Part 6 - Calling an HTTP API from Vue.js
- Part 7 - Securing a router view in Vue.js (this post)
- Part 8 - Calling a secured API from Vue.js
- Part 9 - Refreshing identity tokens with Vue.js
Note: You can find the source code for this post series on GitHub.
Securing a route in Vue.js
Just to recap on what we’ve done so far… we have an IdentityServer instance up and running, we have a site serving up an ASP.NET Core Web API and the built JavaScript files from our Vue.js SPA, and we’ve been able to retrieve data from our back end API and show it on the browser. Have a look at the prior parts in this series if you need to catch up.
We now want to secure access to the About page so that people are automatically signed in when they browse the about page. This will also mean we have the necessary security tokens available when we make the call to the secured API (in the next post).
When it comes to routing, the Vue Router is the library of choice for Vue. With vue-router we are able to write navigation guards to protect access to URIs. When someone tries to access a secured page, we’re going to see if they have any credentials and if they don’t we’re going to prompt for them (i.e. redirect them to sign in).
We begin by marking the /about route as secured by adding extra metadata fields to it. Edit the router.js file and add the meta properties as shown
    {
      path: '/about',
      name: 'about',
      meta: {
        requiresAuth: true
      },
We now need to adjust the export statement. We’ll store the router instance in a variable, and export that variable rather than the object itself. This is so we can perform some other actions with the router instance later in the file.
Change this code:
export default new Router({
  //...
})
To the following:
let router = new Router({
  //…
})

export default router;
Next up; let’s implement the navigation guard. Add this code to the router.js file
router.beforeEach(async (to, from, next) => {
  let app = router.app.$data || {isAuthenticated: false} ;
  if (app.isAuthenticated) {
    //already signed in, we can navigate anywhere
    next()
  } else if (to.matched.some(record => record.meta.requiresAuth)) {
    //authentication is required. Trigger the sign in process, including the return URI
    router.app.authenticate(to.path).then(() => {
      console.log('authenticating a protected url:' + to.path);
      next();
    });
  } else {
    //No auth required. We can navigate
    next()
  }
});
The router.app variable references the base Vue instance (see the docs), but it won’t be populated the very first time the router is called. For this reason we provide a default value.
If this was a more “real-world” application we’d probably be using Vuex or Redux to store authentication data, and we wouldn’t need to access the router.app value like we’re doing here. Doing that in this series would make it even bigger than it already is, and it’s long enough already so we’ll keep it simplistic for now, work around this little problem, and get on with it. Have a look at how you can manage application state using Vuex once you’ve finished here.
Those changes made, head over to main.js and change the contents to look as follows:
const globalData = {
  isAuthenticated: false
}

const globalMethods = {
  async authenticate(returnPath) {
    console.log('yet to be implemented');
  }
}

new Vue({
  router,
  data: globalData,
  methods: globalMethods,
  render: h => h(App),
}).$mount('#app')
We’re simply declaring some fields and methods and attaching them to the root Vue instance (because we’re not using Vuex) so we can access them in the router navigation guards.
If you now browse to the site and navigate to the /about page you should see in the browser console a few messages indicating our authenticate() method is being called
Signing in with OpenId Connect
Great! Let’s get back to implementing our OpenId Connect sign in process.
We begin by including a JavaScript library that helps with the low-level security handshake and plumbing work. This is the oidc-client library, written by the IdentityServer team and hosted on GitHub.
Add this to our vue-app by going to the command line and running
yarn add oidc-client
Now let’s add a new folder called security to our /vue-app/src folder, and create a security.js file in that folder. This will be where we put our code to handle much of the security and OpenId Connect calls.
The oidc-client library provides a UserManager object that we can configure for communicating with IdentityServer. The configuration details we supply here must match the client information we created in IdentityServer, otherwise IdentityServer will reject the connection.
Let’s get this sorted out by adding the following code:
import Oidc from 'oidc-client';

var mgr = new Oidc.UserManager({
    authority: 'https://localhost:5443',
    client_id: 'js',
    redirect_uri: 'https://localhost:5000/callback',
    response_type: 'id_token token',
    scope: 'openid profile api1',
    post_logout_redirect_uri: 'https://localhost:5000/',
    userStore: new Oidc.WebStorageStateStore({ store: window.localStorage }),
})
You’ll note that we’re configuring the userStore field to use browser local storage. This will prevent information loss when the web app is reloaded.
If you’re the curious sort and would like to see logging information from within the library simply add the following lines below the UserManager declaration. It’s entirely option, and if you do use it, remember to disable it in production, okay?
Oidc.Log.logger = console;
Oidc.Log.level = Oidc.Log.INFO;
We also need to export the UserManager instance from our module, so add the following to the end of the security.js file
export default mgr;
Now, let’s head back to the vue-app/src/main.js file and flesh out the authenticate() method.
We want to check if a user is already known and if not, we want to trigger the sign in process. We’re going to pass along the path we were trying to reach with our sign in request so that when the callback completes we can resume navigation to the target page.
Here’s an implementation you can use:
Firstly, let’s import our user manager from our security module. Add the following line to the top of your file, where the other import statements are.
import mgr from './services/security.js'
And then include it in our global data, and implement the authenticate method.
const globalData = {
  isAuthenticated: false,
  user: '',
  mgr: mgr
}

const globalMethods = {
  async authenticate(returnPath) {
    const user = await this.$root.getUser(); //see if the user details are in local storage
    if (!!user) {
      this.isAuthenticated = true;
      this.user = user;
    } else {
      await this.$root.signIn(returnPath);
    }
  },
  async getUser () {
    try {
      let user = await this.mgr.getUser();
      return user;
    } catch (err) {
      console.log(err);
    }
  },
  signIn (returnPath) {
    returnPath ? this.mgr.signinRedirect({ state: returnPath })
        : this.mgr.signinRedirect();
  }
}
If your’re not that familiar with vue, this.$root will return the root vue instance, which is where our methods and data fields are defined.
We’re still not quite done, but it’s always a good idea to see if things are working before getting too far ahead of ourselves.
Make sure everything builds correctly, and then browse to the home page (https://localhost:5000).
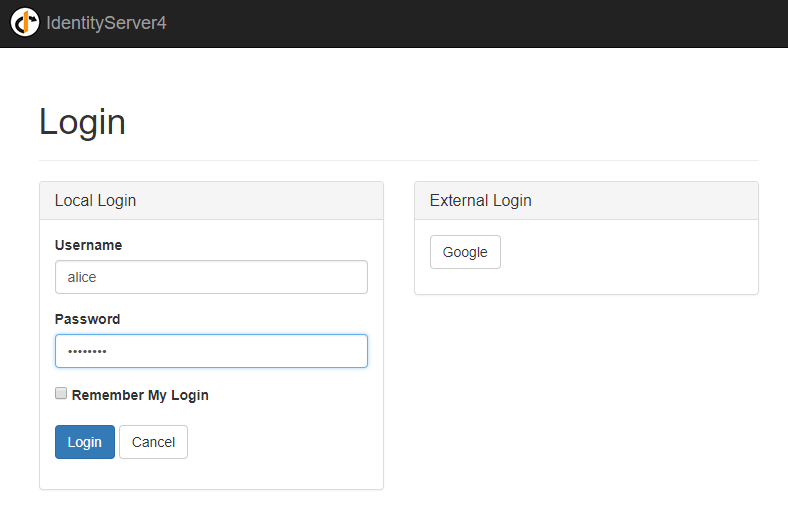
If you navigate to the /about page, you should get redirected to the identity server sign in page.Once you sign in (try: alice/password) then you’ll be prompted with the permission page.
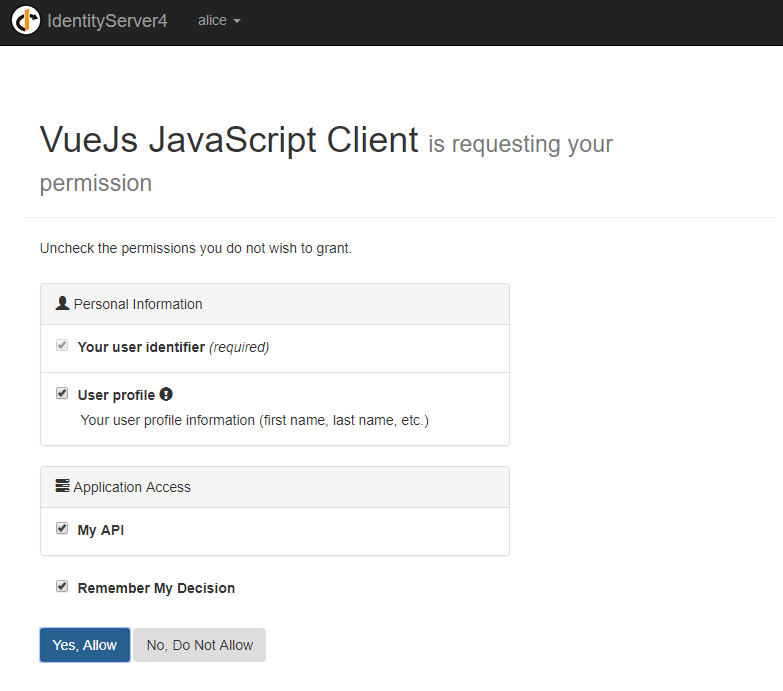
If you choose to continue, and you should, you’ll be redirected to the callback page. It won’t work as we haven’t yet implemented it yet, but we’ve proven the previous steps are working.
Se let’s add a new vue page to /src/views called Callback.vue.
Add the following code to it.
<template>
    <div>
        <p>Sign-in in progress</p>
    </div>
</template>

<script>
    export default {
        async created() {
            try {
                var result = await this.$root.mgr.signinRedirectCallback();
                var returnToUrl = '/';
                if (result.state !== undefined) { returnToUrl = result.state;}
                this.$router.push({ path: returnToUrl });
            } catch (e) {
                this.$router.push({ name: 'Unauthorized' });
            }
        }
    }
</script>
This callback simply completes the sign in process using the oidc-client library and then redirects to either the home page or the target URL (if we supplied one).
We’ll also need to add this component to our routing table.
import Callback from './views/Callback'
//…
let router = new Router({
	//…
    {
      path: '/callback',
      name: 'callback',
      component: Callback
    },
	//..
There’s just one last thing we should do. Now that we can log in, let’s call that secured API and complete the loop!